
|
Lesson Overview of Major Concepts:
Distance learning: Students will use prior Knowledge from Art Education lessons to create a Paper Weaving Cobb Teaching and Learning Standards
Art Supplies: Paper (Any Paper will work. Try colored construction paper, magazines, newspaper) Kids Scissors Ruler Pencil or Thin Marker |
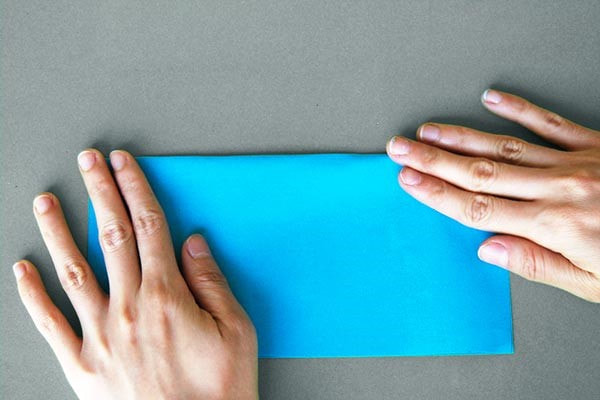
OneFold your paper in half and have the mouth of the paper (where it opens) face you. Place a ruler at the bottom edge of the paper to hold the mouth closed and draw a line across.This very important line becomes your stop sign---you never cut pass this and keep the paper folded when you cut.
|
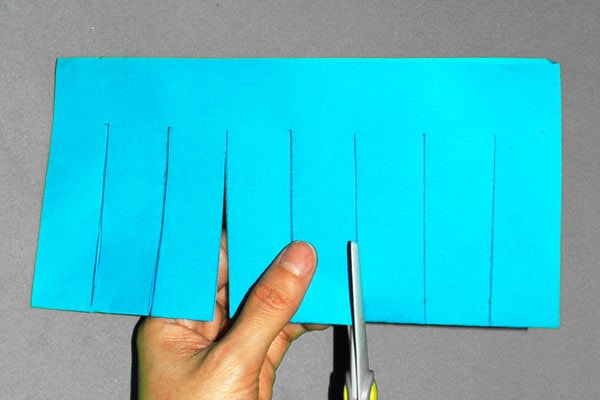
TwoTo cut begin at the fold and cut to the line (your stop sign)
You can experiment with how far apart you place your cutting lines. For the first time, don't put them too close and use a ruler! |

ThreePrepare strips as long as your paper to use for weaving.
Cut one Inch strips of paper to start. You can use any kind of paper, scrapbook paper, brown bags, ribbon, fabric scraps, construction paper, tissue paper----just experiment and even try a combination of materials. |
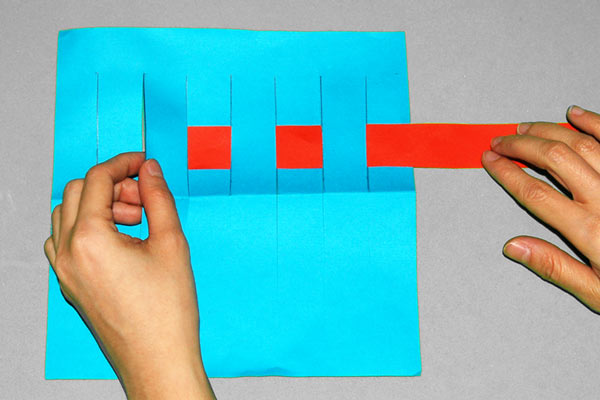
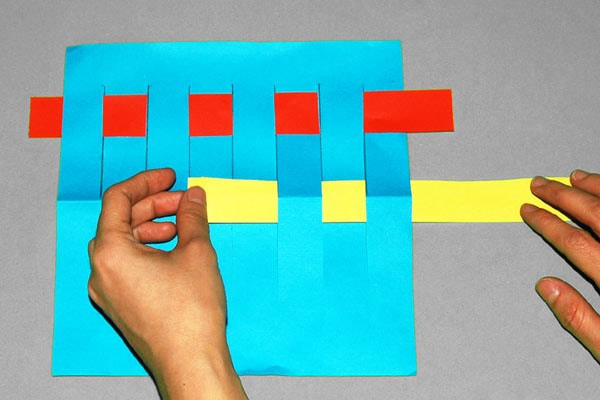
FourWeaving follows a simple over /under pattern. The second row is the opposite of the first row. The third row is the same as the same as the first row and keep alternating to create a "checkerboard pattern".
Variation: Try painting papers with textures as we did in art class. |
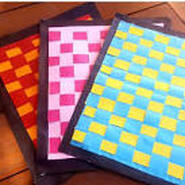
FiveThis would be a great time to experiment with color and design as you complete your weaving and review the steps!
Review Color: Cobb Digital Library Learning Brainpop Jr Art - Color Remember to email me a photo of your completed weaving! |
